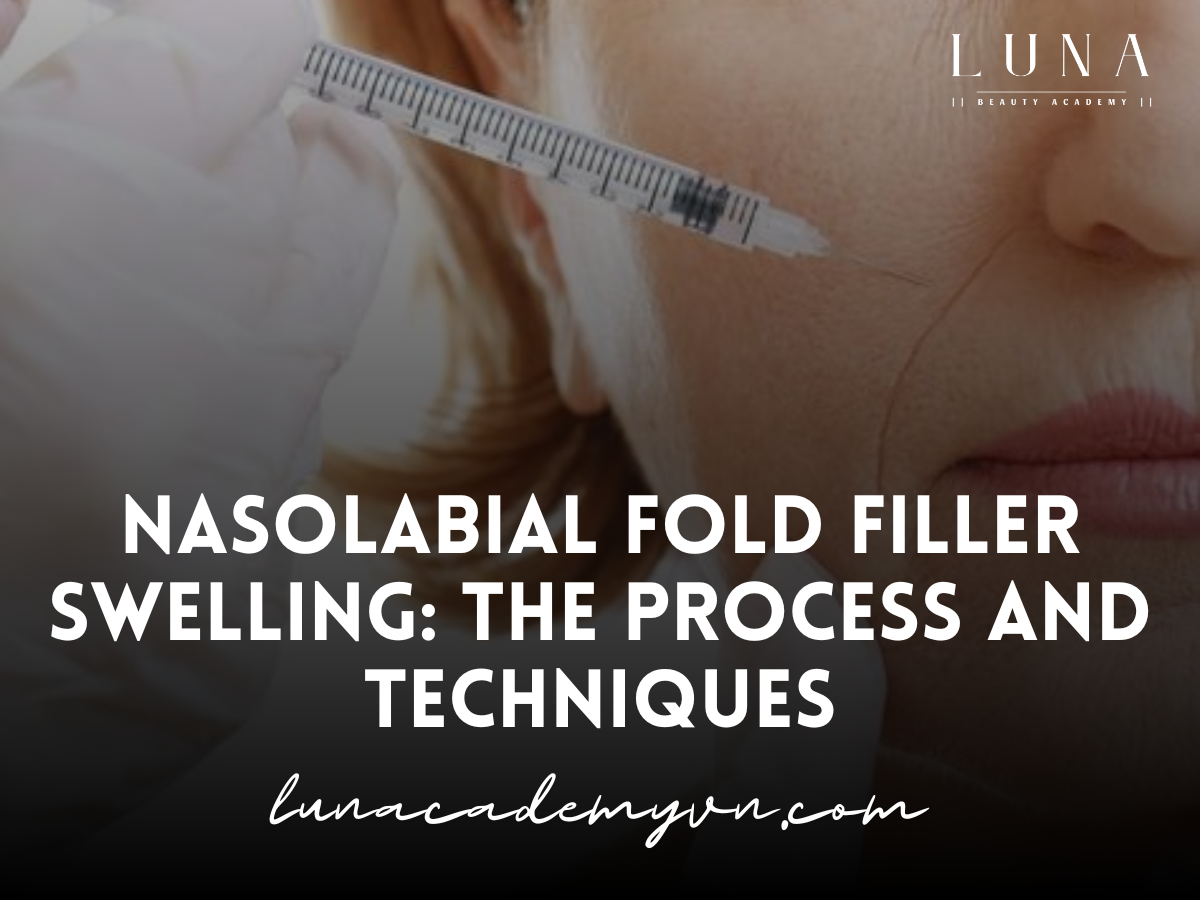
Nasolabial folds, often referred to as “smile lines” or “laugh lines,” are the deep creases that run from the sides of the nose down to the corners of the mouth. As we age, these lines can become more prominent due to loss of skin elasticity, volume depletion, and the effects of gravity. Dermal fillers are a popular solution to address these concerns, offering a non-surgical way to smooth out these creases and restore a youthful appearance. However, swelling after nasolabial fold filler treatment is a common concern. This article delves into the stages of nasolabial fold filler swelling, filler techniques, and what happens when too much filler is used, along with accompanying pictures for better understanding.
Table of Contents
ToggleNasolabial Fold Filler Swelling Stages
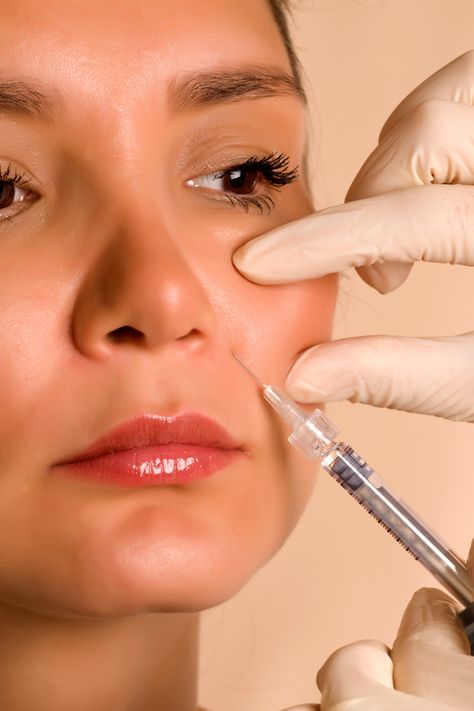
Swelling after nasolabial fold filler injections is a normal part of the healing process. Patients should be aware that some degree of swelling is expected and will gradually subside over time. Understanding the stages of swelling can help manage expectations and reduce anxiety about the treatment outcome.
1. Immediate Swelling (First 24 Hours)
Right after the filler injections, patients can experience immediate swelling. This is a natural reaction to the trauma caused by the injection needle and the introduction of foreign material (filler) into the tissue. The swelling may be more pronounced in individuals with sensitive skin or those prone to fluid retention. In the first few hours, the area around the nasolabial folds may appear puffy or fuller than expected, which can make the lines seem more prominent initially.
Some patients may also experience mild redness or bruising, which can enhance the appearance of swelling. Applying cold compresses in the first 24 hours can help minimize these effects. It’s essential to avoid touching or massaging the area excessively during this time, as it can displace the filler and exacerbate the swelling.
2. Peak Swelling (24 to 48 Hours)
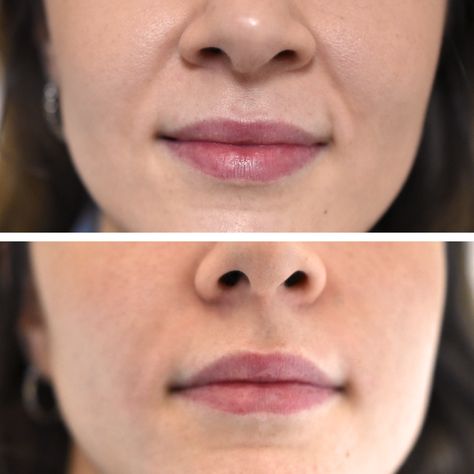
The swelling usually reaches its peak within 24 to 48 hours post-injection. At this stage, the nasolabial folds may look more swollen than the final result will appear. It’s common for patients to feel some tightness or firmness in the area due to the filler material and the body’s inflammatory response. Swelling can be uneven at this point, with one side potentially appearing more swollen than the other.
3. Gradual Reduction (3 to 7 Days)
As the body begins to heal and adjust to the filler, swelling will gradually decrease over the next few days. By the third day, patients should notice a reduction in puffiness, and the nasolabial folds will begin to soften and take on a more natural appearance. Bruising, if present, will also start to fade, though it may take up to a week for the skin to return to its normal color.
By day seven, most of the swelling should have subsided, and the filler will settle into place. The nasolabial folds should appear smoother and less pronounced, giving the patient a refreshed, youthful look.
4. Final Result (2 to 4 Weeks)
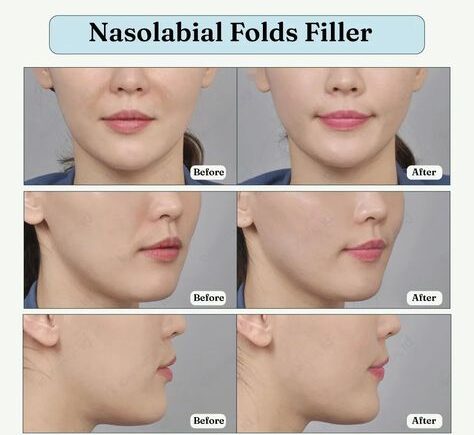
It can take up to four weeks for the filler to fully integrate with the surrounding tissue and for the final result to be visible. By this time, all swelling should have resolved, and patients can see the true effect of their nasolabial fold filler treatment. If any asymmetry or unevenness remains at this stage, a follow-up appointment with the injector may be necessary for a touch-up.
Nasolabial Fold Filler Technique
The technique used for nasolabial fold filler injections plays a crucial role in achieving optimal results with minimal complications, including swelling. There are various methods injectors use, and the choice of technique depends on the patient’s unique facial anatomy, skin quality, and desired outcome.
1. Linear Threading Technique
One of the most common methods for injecting filler into the nasolabial folds is the linear threading technique. In this approach, the needle is inserted at the top of the nasolabial fold (near the nose), and the filler is deposited in a continuous line as the needle is slowly withdrawn. This technique ensures even distribution of the filler along the length of the fold and helps create a smooth, natural look.
Linear threading is suitable for patients with mild to moderate nasolabial folds. It’s also a good option for those seeking subtle, natural-looking results, as it allows the injector to control the amount of filler deposited in each area.
2. Cross-Hatching Technique
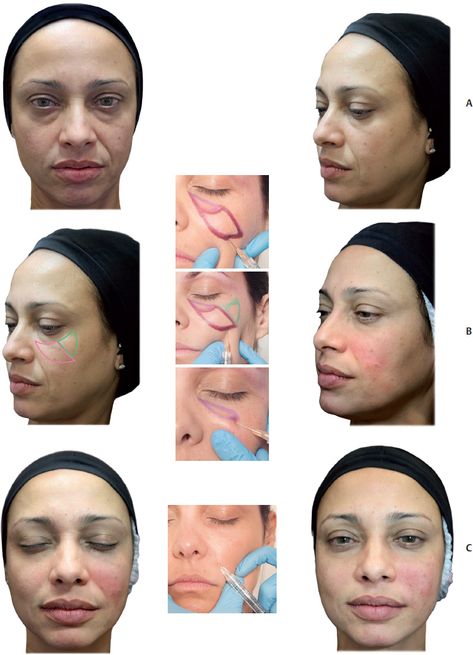
For deeper nasolabial folds or patients requiring more volume, the cross-hatching technique may be used. This involves creating a grid-like pattern of filler by injecting horizontally and vertically across the nasolabial fold. The cross-hatching technique ensures that the filler is distributed evenly across a broader area, providing more volume and support to the skin.
This method is especially effective for patients with more pronounced nasolabial folds or those who have experienced significant volume loss due to aging. However, it requires an experienced injector to avoid overfilling and to ensure that the results look natural.
3. Blunt Cannula Technique
Some injectors prefer to use a blunt-tip cannula instead of a sharp needle to minimize the risk of bruising and swelling. A blunt cannula is inserted through a small entry point, and the filler is deposited in the nasolabial fold through a single injection site. The blunt tip of the cannula reduces the likelihood of piercing blood vessels, which can lead to bruising or excessive swelling.
The blunt cannula technique is ideal for patients with thinner skin or those who are prone to bruising. It’s also useful for minimizing discomfort during the procedure, as the blunt tip causes less trauma to the surrounding tissue.
4. Layering Technique
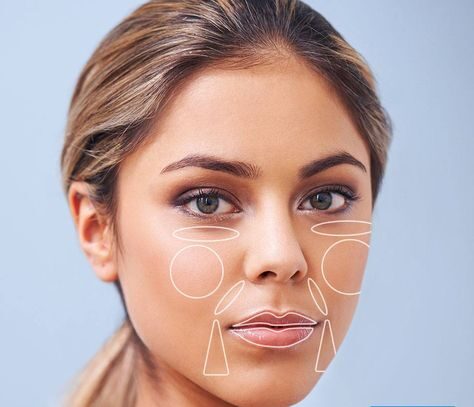
For patients with both fine lines and deep folds, a combination of techniques may be used in a layering approach. Fine lines near the surface of the skin can be treated with a softer, thinner filler, while deeper folds are addressed with a thicker, more robust filler placed at a deeper level. This technique allows the injector to create a more comprehensive result, addressing both superficial and deep wrinkles in the nasolabial area.
Layering requires careful planning and execution, as too much filler in either layer can lead to an unnatural appearance or excessive swelling. It’s essential to work with an experienced injector who understands how to balance the different layers for the best possible outcome.
Too Much Filler in Nasolabial Folds Pictures
One of the most common concerns among patients considering nasolabial fold filler is the fear of looking “overfilled” or unnatural. While fillers can do wonders for softening lines and restoring lost volume, too much filler in the nasolabial folds can lead to undesirable results.
1. Overfilled Appearance
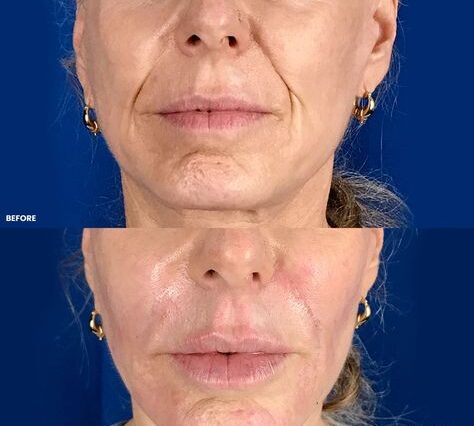
When too much filler is injected into the nasolabial folds, it can create an overly puffy or “pillow-like” look. This can make the lower face appear heavy and unbalanced, drawing attention to the nasolabial area rather than creating a harmonious, rejuvenated look. In some cases, too much filler can make the patient’s face look unnatural or exaggerated, which is a common concern among those who want to avoid the stereotypical “plastic” look.
2. Distorted Smile
Excessive filler in the nasolabial folds can also interfere with facial movement, leading to a distorted or restricted smile. The nasolabial area plays a crucial role in facial expressions, and too much volume in this area can create stiffness or make it difficult for the patient to smile naturally. This is one reason why it’s essential to choose an injector who understands the delicate balance required for facial harmony.
3. Filler Migration
Another issue with overfilling is the potential for filler migration. When too much product is placed in the nasolabial folds, it can shift to surrounding areas, leading to lumps, bumps, or asymmetry. Filler migration can also cause uneven swelling or a distorted appearance as the product moves away from the intended injection site.
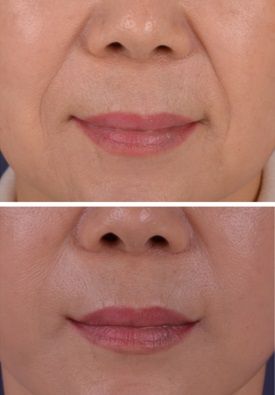
4. Pictures of Overfilled Nasolabial Folds
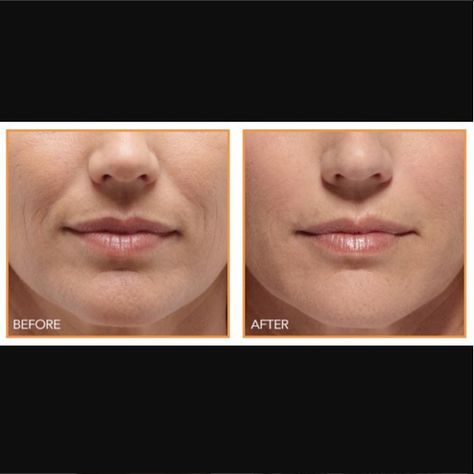
Pictures of patients who have received too much filler in their nasolabial folds can serve as a cautionary tale. These images often show overly full or puffy lower faces, with exaggerated folds that may look unnatural or out of proportion with the rest of the face. In some cases, patients may also experience uneven swelling or lopsided results, particularly if the filler has migrated or been placed incorrectly.
The key to avoiding overfilling is to work with a skilled injector who understands facial anatomy and uses a conservative approach to achieve natural-looking results. In most cases, less is more when it comes to nasolabial fold filler, and patients should be aware that additional treatments can always be done if more volume is needed.
Conclusion
Nasolabial fold filler injections are an effective way to reduce the appearance of smile lines and restore a youthful look. However, swelling is a common side effect that follows distinct stages, from immediate puffiness to a more settled appearance after several days. By understanding these swelling stages and choosing the right filler technique, patients can achieve natural, balanced results. It’s essential to avoid overfilling, as too much filler can lead to an unnatural appearance, a distorted smile, or filler migration. Working with an experienced injector is the key to achieving the best outcome with minimal complications.
Contact us via other platforms if you have any questions or requests that need to be answered quickly.
Tiktok: www.tiktok.com/@lunabeautyacademy6
Hotline: 034 254 0228
Email: lunabeautyacademy@gmail.com
Address: No. 29, Alley 140/1/2, Lane 140 Nguyen Xien, Thanh Xuan, Hanoi
Luna wishes you success and hopes you will have the best experiences at the academy. If you need advice or answers about anything, please leave your Contact Information With Us, the Luna team will contact you soon. Thank you for reading this article.
